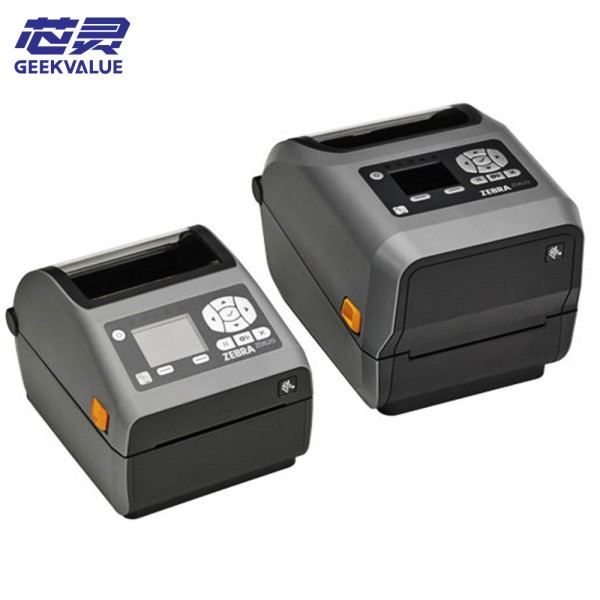
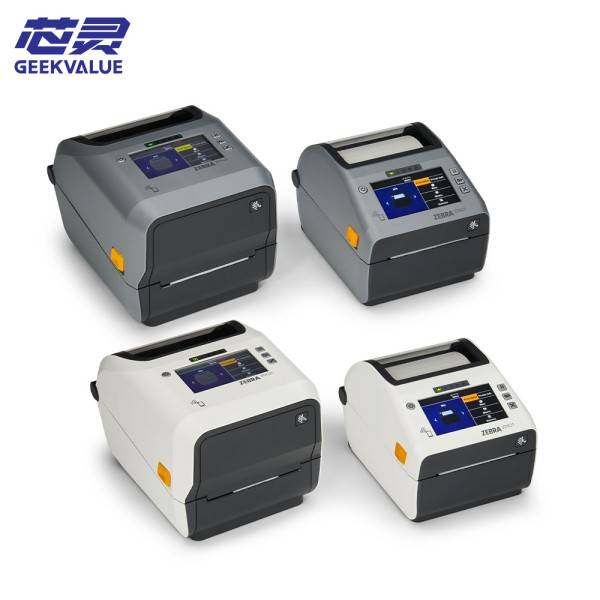
Zebra printers are renowned for their reliability and efficiency in various industries, including retail, healthcare, logistics, and manufacturing. However, encountering label jams can disrupt operations and lead to frustration. Understanding the root causes and implementing effective solutions is crucial to maintaining seamless printing processes.
Common causes of paper jams in Zebra label printers
1. Improper Label Loading
Incorrectly loaded labels can lead to misfeeds and jams. Ensuring labels are properly aligned and the guides are adjusted to the correct width is essential.
2. Dirty or Worn Rollers
Accumulation of adhesive residue or dust on the rollers can hinder smooth label feeding, resulting in jams.
3. Incorrect Label Size or Type
Using labels that are incompatible with the printer's specifications can cause feeding issues. It's important to use labels that match the printer's requirements.
4. Damaged or Low-Quality Labels
Labels with defects or of subpar quality may peel or curl during printing, leading to jams.
5. Environmental Factors
High humidity or temperature can affect label adhesion and feeding, increasing the likelihood of jams.

Zebra Printer Troubleshooting Steps
Step 1: Power Off and Inspect
Turn off the printer and unplug it to ensure safety.
Open the printer cover and carefully remove any jammed labels.
Inspect the label path for any torn pieces or adhesive buildup.
Step 2: Clean the Printer
Use isopropyl alcohol and a lint-free cloth to clean the rollers and printhead.
Remove any debris or adhesive residue that may impede label movement.
Step 3: Verify Label Specifications
Check the label size and type to ensure compatibility with the printer model.
Replace any damaged or low-quality labels with ones that meet the printer's specifications.
Step 4: Reload Labels Properly
Align the labels correctly within the printer, ensuring they are centered and the guides are snug but not tight.
Feed the labels through the printer following the manufacturer's instructions.
Step 5: Calibrate the Printer
Perform a calibration to allow the printer to detect the label size and gaps accurately.
Follow the specific calibration procedure outlined in the printer's manual.
Step 6: Test Print
Run a test print to ensure labels feed smoothly and print correctly.
Monitor the printer for any signs of recurring jams.

Preventative Measures
Regular Maintenance
Schedule routine cleanings of the printer's interior components.
Inspect rollers and the printhead for wear and replace them as needed.
Use Quality Supplies
Purchase labels and ribbons from reputable suppliers to ensure consistency and compatibility.
Store labels in a cool, dry place to prevent damage.
Environmental Control
Maintain optimal temperature and humidity levels in the printing area.
Avoid placing the printer near sources of heat or moisture.
Advanced Troubleshooting
Sensor Alignment
Check the label sensors to ensure they are properly aligned and functioning.
Clean the sensors with a soft brush or compressed air to remove dust.
Firmware Updates
Visit the manufacturer's website to download and install the latest firmware updates.
Ensure the printer's software is up to date to prevent compatibility issues.
Professional Assistance
Contact technical support if label jams persist despite troubleshooting.
Consult with a certified technician for in-depth diagnostics and repairs.
Addressing label jams in Zebra printers involves a combination of proper maintenance, using quality supplies, and adhering to correct loading procedures. By understanding the common causes and implementing the outlined solutions, users can minimize downtime and maintain efficient printing operations.
If challenges persist despite following these steps, consider reaching out to Zebra's customer support or consulting with a professional technician for further assistance.